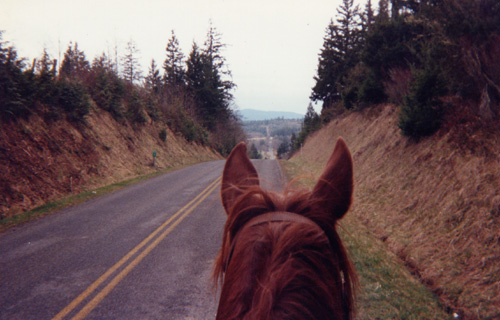
The trip of a lifetime...by horseback!
From: Plaistow, New Hampshire
To: Hoquiam, Washington
Duration: April 16, 1991 to August 11, 1994
(3 years, 4 months)
Miles: 9,000
The trip of a lifetime...by horseback!
From: Plaistow, New Hampshire
To: Hoquiam, Washington
Duration: April 16, 1991 to August 11, 1994
(3 years, 4 months)
Miles: 9,000
|
Members
of the journey: Tracy Paine, 21 years old DC Vision, 24 years old
|
|
|
Map
of trip route.
Adventure
Stories
The
Dream
The First Day
When in New York
You Can Go Your Own Way
Rescuing Rattlesnakes!
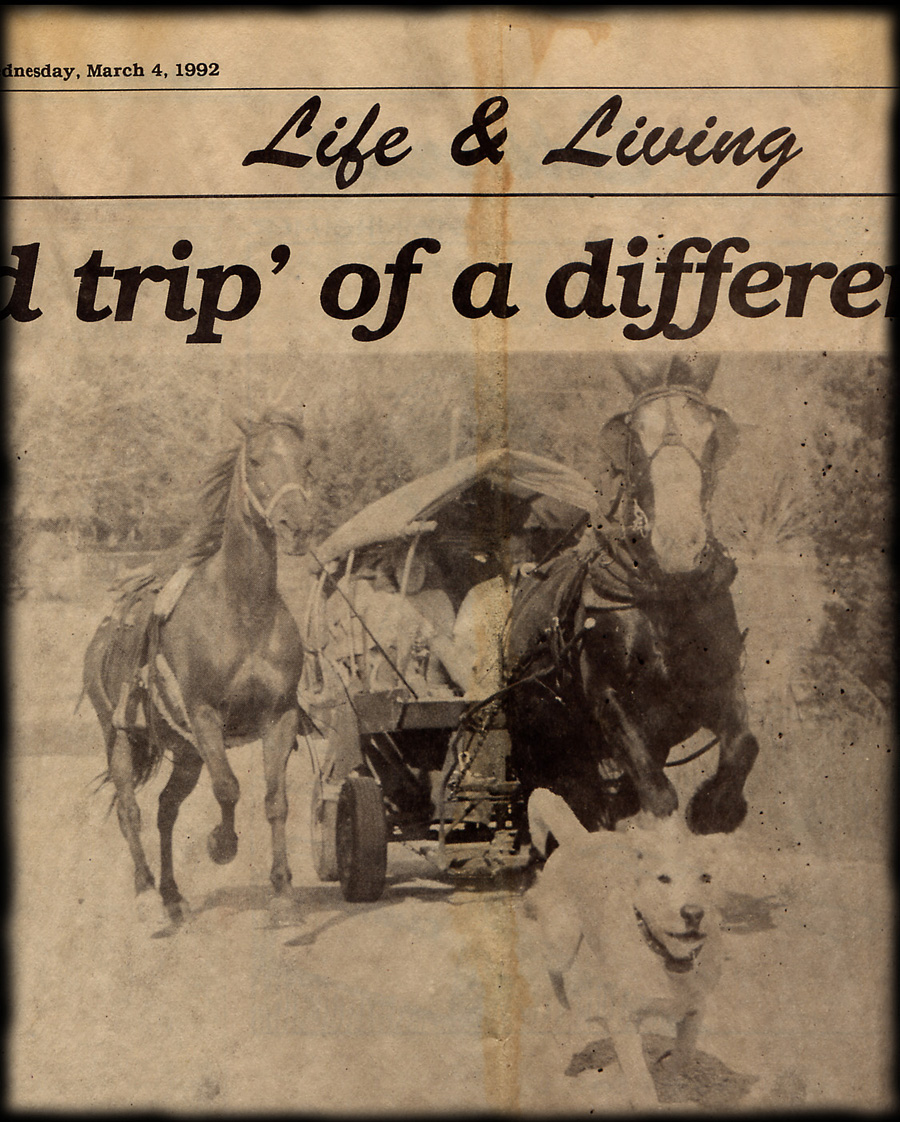
Wagons Ho?
The Misadventures of Myles
What Happened to Skidder
Texas
The Ocean
Two Becomes One
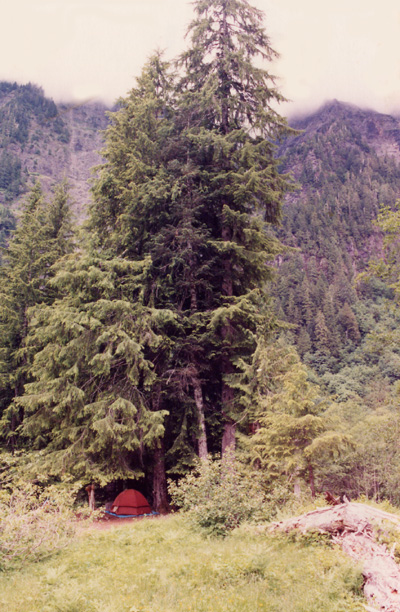
Olympic National Park
Hoquiam, End of the Trail
Slideshow & Photo Gallery
Frequently
Asked Questions
How
many miles do you travel in a day?
We traveled approximately 15 to 25 miles
a day. We rested at least 2 days per week. Sometimes we would stay in
an area for a few weeks before moving on.
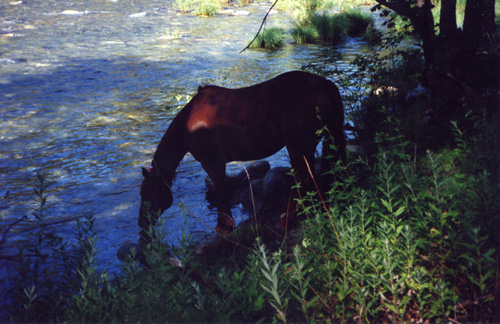
What do the horses
eat?
The horses mostly grazed on grass. When there was no grass, we fed them hay.
Do you travel
on roads?
We mainly traveled along the backroads of America. Horses are not allowed
on major interstate highways, which is a good thing because Dawn is petrified
of big trucks and tractor-trailers.
Equipment
Saddles:
The saddles we
used on our journey were just conventional western saddles. However, we did
have to modify them slightly. Most western saddles have saddle strings that
are just stapled on. They are useless for tying things to the saddle. We got
7 foot long latigo strings and attached them to our saddles by drilling holes
all the way through the saddle tree and then pulling the strings through.
Our horses had chest plates to hold the saddles from sliding back.
We used string girths with stainless steel rings. At first we tried the fuzzy type, but they were slippery and caused the horses to sweat under them.
Bridles
and ropes:
Our horses did not need bridles or bits.
We only used halters with rope reins. The advantages of this were: 1) it was
more comfortable for the horse, they could forage along the way, 2) it was
more convenient to tie the horses when stopping briefly, 3) less equipment
to carry and maintain. When camping at night, we tied the horses using 75'
ropes which gave them plenty of room to move around and graze. Each rope had
a metal snap on either end. I tied a loop near one end so that we could fasten
it around the horses' necks like a collar. That way their halters could be
removed for the night. Dawn always wore a collar around her neck made of thin
rope. Sometimes I would clip a bell onto it so I could hear her movements,
especially if she was turned loose for the night.
Packs:
Our journey was unique in the fact that
we did not have a packhorse. Each of us had the equipment and supplies we
needed individually on our own horse. We started out with regular canvas saddlebags.
Those lasted about a week and a half! Then we went to leather. They were heavier
and lasted just about as long. At last we tried army/navy backpacks. So far,
nothing can beat the quality and durability of these packs, not to mention
the low price and all the cool pockets! Because they are meant to be used
as backpacks, some modifications have to be made. The straps should be cut
off. A special harness made out of nylon seatbelt material is then sewn onto
each backpack using a leather-sewing awl. Seatbelt material won’t wear
out, and it is extremely strong. Next the saddle must be outfitted to accept
the modified backpacks. All that is needed is more seatbelt strapping and
some snap hooks. The following diagram shows how to make this simple saddle
harness.
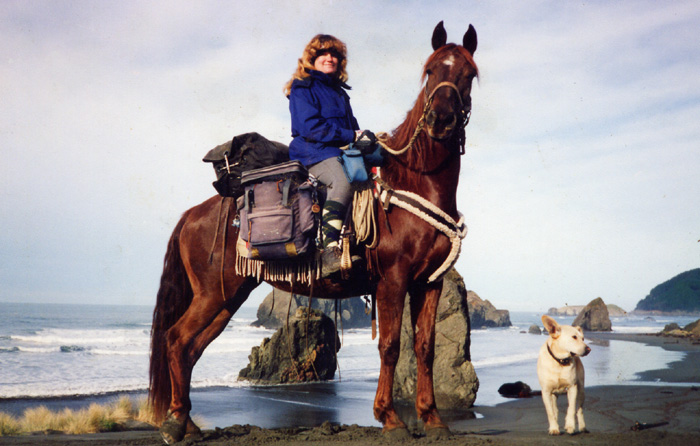
The unique feature of this packing method, as opposed to conventional saddle bags, is that most of the weight of the saddlebags is shifted forward under the rider, and off the horse’s lower back and kidneys. Another great feature is that it takes less than 30 seconds to put the packs on after the horse is saddled. The packs have two ‘D’ rings on the back which hang on two small hooks that are attached to the saddle harness. So the daily routine of packing the horse is only a matter of picking up the packs and slipping the ‘D’ rings into the hooks! We kept our sleeping bags behind the saddle in an army/navy canvas duffle bag. This was attached using the saddle strings. I sewed buckles into the strings which made it easy to attach the duffle bag nice and tight so it didn’t wobble. During our journey, I would walk several miles per day with my horse. When I was walking, I would shift all my packs (the two army/navy backpacks and the duffle bag) forward onto the saddle where I would normally ride.
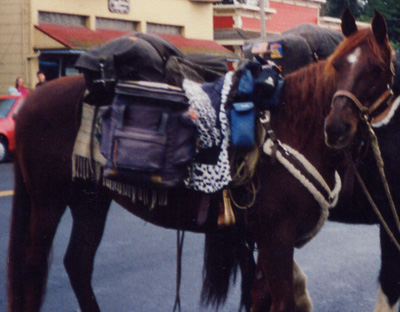 Dawn with packs in the 'riding' position. |
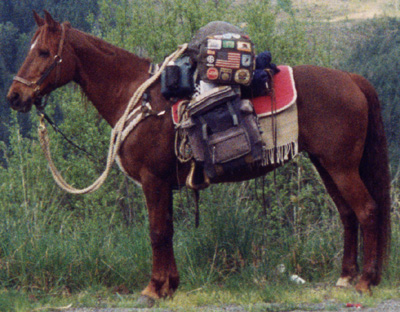 Dawn with packs moved forward in 'walking' position. |
When packing it is important to have the saddlebags well balanced. Just a pound or two off on either side can cause everything to shift to one side and rest unevenly on the horse.
Saddleblankets:
Each
horse had three blankets. The first was a standard 27" x 56" thin
blanket. This blanket was folded in half (doubled) and put on the horse first.
The great thing about using this type of blanket against the horse is that
when it gets dirty, it can be flipped over so that a new clean surface can
be put against the horse. Then when this side gets dirty, there are two more
clean sides before the blanket has to be washed. It is important to keep the
blankets clean as well as the horse in order to avoid saddle sores.
The second blanket was like the first, only narrower. This blanket draped over the horses' backs about halfway down the first saddle blanket. It served to protect the horses from the saddle bags.
The third blanket was a thick, square western saddle blanket. Ours had inserts made out of space-age material that is found in the the seats inside of the space shuttle. These inserts could be taken out and the whole blanket could be washed. The material is wonderful because it evenly distributes the weight on the horses' backs preventing any pressure points.
Supplies:
The following is a general list of supplies
that was carried on my horse:
| 75'
rope to tie Dawn out with shoeing tools camera journal/pencil/pen maps book towel 3 changes of clothes (summer or winter depending) shampoo hairbrush horsebrush toothbrush/toothpaste toilet paper sewing supplies shallow, stainless steel pan various food items lighter/matches knife flashlight tent (only when I was in Washington) sleeping bag thin wool blanket rain poncho tarp |
 |
Horseshoes:
The method of shoeing I used is very similar to the conventional method, however there are a couple of little ‘tricks’ that will make shoes last longer and stay tight longer over any type of terrain, especially pavement. I have never liked using horseshoes. In fact, when I first started my horseback journey, my horse was barefoot! I had no idea how quickly a horse’s hooves could wear down when traveling on pavement (roughly 75% of the time). In less than 3 weeks, I was looking for a farrier to shoe my horse. Eventually I bought my own tools and packed them with me. Horseshoes are, at best, a necessary evil.
The
most preferable shoe I have found for long distance horseback travel is a
lightweight, flat iron shoe with no heel or toe caulks. A shoe like this will
wear paper thin and crack at the toe in only two weeks of pavement travel.
Borium is a must. This same shoe, properly coated with borium, will last one
year of pavement travel! Welding borium onto a shoe is an art as well as a
science and must be done properly to be effective. Anyone who knows how to
weld can do the job. Borium consists of tungsten carbide chunks in a brass
matrix. The shoe is preheated first. This can be done with a hot torch flame,
a forge, or even a good campfire! When the shoe is hot, borium is applied
using a torch with a low flame. If the flame is too high, the borium will
burn and pop! This stuff melts at a low temperature. The borium should be
applied in a thin single layer (not more than 1/8” thick) for the main
purpose of protecting the shoe from wear. There is no need to build the layer
of borium up thick. Borium is also very effective for riding on ice and other
slick surfaces such as parking lots coated with blacktop sealer! Because borium
affords the shoe some traction, it is advisable that a horse not used to borium
shoes be ridden on soft surfaces before riding on hard, unforgiving surfaces
so as not to cause leg injuries.
Borium and farrier supplies can be purchased at Meader
Supply, 23 Meaderboro Road, Rochester, N.H. 03867
*Note: there is an alternative to shoeing with iron shoes and nails - nylon
shoes which are applied with epoxy. I have not tried this, but I intend to
do so for my next horseback adventure. Meader Supply has these shoes.
Horseback travelers should avoid loose shoes at all costs. A loose shoe is dangerous. It is easily snagged off the hoof and very often takes part of the hoof with it. Unfortunately, loose shoes are all too common, especially for horses traveling on a daily basis, on pavement, and especially if the horse is a draft horse! The heavy weight of the draft shoe and the tremendous repetitive impact will work the shoe loose in no time. I knew of a draft horse who suffered loose shoes repeatedly and consequently lost so much hoof material that her hooves could no longer hold a shoe!
The trick to avoiding loose shoes is finishing the nails properly. Most farriers will drive a nail into the hoof wall and then ‘wring off’ the nail by using the hammer claws to twist off the sharp end of the nail close to the hoof wall. Don’t do this. Instead, bend the nail over against the hoof wall and cut it off with nail cutters. Leave 1/8” of the nail projecting from the hoof wall. When all the nails are done in this fashion, they are then seated using a ‘clinching block’ or any other piece of flat metal. Carefully file away any burrs under the nail stubs, do not create a groove in the hoof wall or file away any of the nail, as this will cause weakening. The nail stubs are then softly hammered flat against the hoof wall, and the job is done (see diagrams below). Turning the clinches in this fashion (as opposed to cutting the nail stubs short and then using alligator clinchers) will not cause tearing in the hoof wall, and they will last much longer. There is no need to smooth the clinches with a file because this will occur naturally in a couple days. A shoe nailed in this manner will stay tight for a very long time. I had shoes stay tight on my horse for 6 months straight while traveling.
| After nailing, bend point over. |
Cut
nail leaving 1/8" stub,
and seat. |
Gently, tap down nail stub. |
It
is highly advisable to use rubber rim pads when traveling by horseback whether
the travel is on pavement or in the backcountry. Rim pads do not cover the
sole of the hoof and are placed between the hoof and the shoe. They absorb
concussion and eliminate hoof and bone problems.
For more information about how to shoe horses,
refer to the book, “The Principles of Horseshoeing II” by Doug Butler.
Future
Horseback Trips
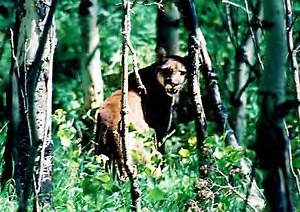
The next trip I plan to make is exclusively in the state of Idaho. The main
purpose of this trip is to see cougars in the wild. Idaho is one of the few
states in the U.S. that is home to a large number of these beautiful, elusive
cats. There are other reasons for the trip also: I need to be alone in the
quiet wilderness once again, and what better way to train my green broke young
Saddlebred stallion to ride and pack? I plan to take both him and my mare,
a veteran of the road, Dawn. I promised Dawn that I would never take her on
another long journey again - I formally retired her when her cross country
trip was over - so this will be a fairly short trip of at least two weeks
and a couple hundred miles.
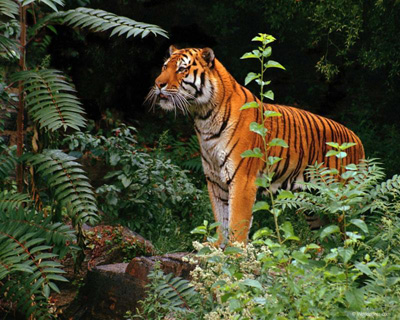
The next long trip I am planning to take will be with Kilroy and perhaps another
young horse who I have yet to encounter. This trip will be for the purpose
of seeing a tiger in the wild. Therefore, we will travel through Siberia!
I will ride to Alaska and try to ferry over to the Kamchatka peninsula and
spend the summer tracking tigers. From there I may travel through China to
see yaks in their native lands, and then perhaps travel into India and see
more tigers.